

NB: Be aware that the only truly secure MFA solution from Microsoft is the Authenticatior APP.
UPDATE: There is a new combined user registration process, which dramatically enhances the user experience during MFA enrollment in Azure AD. Read about the concept at:
https://docs.microsoft.com/en-us/azure/active-directory/authentication/concept-registration-mfa-sspr-combined
UPDATE: As of May 2020, it is now possible to preload the user’s authentication phone number via the Microsoft Graph API:
https://docs.microsoft.com/en-us/graph/api/resources/authenticationmethods-overview?view=graph-rest-beta
UPDATE: The knowledge in this article can still be applied but is slowly beginning to be outdated, and this blog post will not be updated any further, and organizations are encouraged to look towards Azure Identity Protection or Conditional Access, as a primary means of deploying strong authentication.
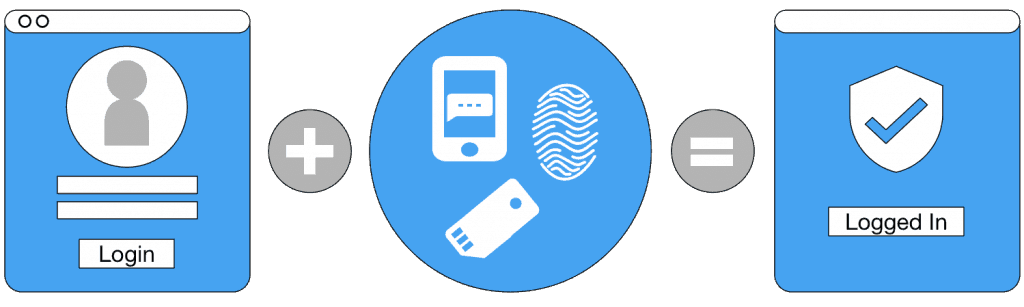
MFA = Multi-Factor Authentication, should be a well know concept to any IT department. And enabling MFA is usually a pretty straight forward thing to do – because most of it is user driven.
But… afterwards you have to deal with those “few” users who are not so tech savvy….
Who all have to finalize the deployment of MFA by completing the MFA setup wizard found at https://aka.ms/MFASetup
However… in most large organizations, IT wants/needs to control this process.
They might even want to control the phone number that the MFA challenge is sent to. And thus provisions the mobile phone via Active Directory. This however, still requires the users to complete the MFA setup wizard! (even though the user wont have to type any thing, as it will all be pre-populated)
This can be forcefully skipped, by going to the Azure MFA portal and enforcing MFA straight away. Though it won’t work if the users have not been successfully synced to Azure AD with a valid mobile number.
This guide assumes you want to start with text based MFA. The better option would be, to use the Microsoft Authenticator App. But that is not something that you can forcefully deploy without any user interaction (at the time of writing).
NB: This Guide assumes that you have already enabled MFA in Azure or Office 365. And that you have the users accounts populated with their Mobile Phone number. (Official guide here: https://docs.microsoft.com/en-us/azure/active-directory/authentication/howto-mfa-getstarted)
Enforcing MFA through the GUI
First step is to log-on to your tenants Azure AD manager – via https://aad.portal.azure.com and select the “Azure Active Directory“.

Go to the MFA portal, by first clicking on “Users“, and then click the link button to the “Multi-Factor Authentication“.

OK! Step 1 : In the MFA portal, we search for our test user.
You are going to test this before production deployment, right?
Step 2: Now we enforce MFA by ticking the checkbox next to the display name. Then clicking on the “enable” link that appears on the right, in the “quick steps” section.

HINT: After step 2, the user might still appear as disabled. A refresh of the page, and a search (if it’s a large user list) will have the listing corrected.
Step 3: Now tick the users checkbox again. A set of new options will appear in the “quick steps” section…
Click on the “Enforce” link.

This will tell the system, that the user should use MFA right away. Utilizing the pre-deployed contact details, from your Active Directory.
This will not prevent the system from forcing the user through the MFA setup wizard if the required details are missing from your Active Directory (the user account).
So make sure you have your AAD sync in order.
That’s it for our test account! (you did use a test account right?)
If everything works as expected, you can use the bulk update function to do this for all users via a CSV file.
You can utilize Conditional Access in Azure AD to enable MFA based on group membership (a highly recommended approach). Requires a Azure AD P1 plan though…
Final words
During any project to enable “Multi-Factor Authentication” in an organization of any size; please don’t forget to think things through and test, test, test!
Please consider the user impact first – and how to soften the blow, because we don’t want to impact their productivity.
And we most certainly do NOT want users to become numb to the MFA process!
Consider IP white lists and Conditional Access, to keep things status quo at home, but safer on-the-go.
Do awareness campaigns before putting everyone on enforced MFA.
Microsoft has an excellent site with documentation aimed at end-users, this can be a tremendous help in lifting awareness.
https://docs.microsoft.com/en-us/azure/active-directory/user-help/multi-factor-authentication-end-user
Thanks for reading!
Please follow/like etc. on twitter, @michael_mardahl


Add comment